If you’re looking for tips on how to create your first home video recording studio, you’re probably looking to take your content production up a notch.
But setting up a studio to record high-quality videos from home may seem daunting – requiring skills that you might not have, or equipment you can’t afford.
In this blog, we’ll teach you three DIY video recording studio setups to help you create high-quality videos from home, without breaking the bank. And if you’re really on a budget, we’ll show you how to create a recording studio for free using the equipment you already have.
If you prefer to sit back and learn, check out this video on how to set up an easy DIY home video studio setup:
Make money from your video content (without the cost or loss of control)
Sign up for Thinkific’s free plan to share your knowledge and generate revenue from your video content — all from a single platform that you control.
4 steps to set up your home video recording studio
1. Choose your setup
There are three different video recording set-ups that we see people use, and the one you choose will depend on the type of class you’re teaching:
- Talking head videos
- Full body videos
- Top-down videos
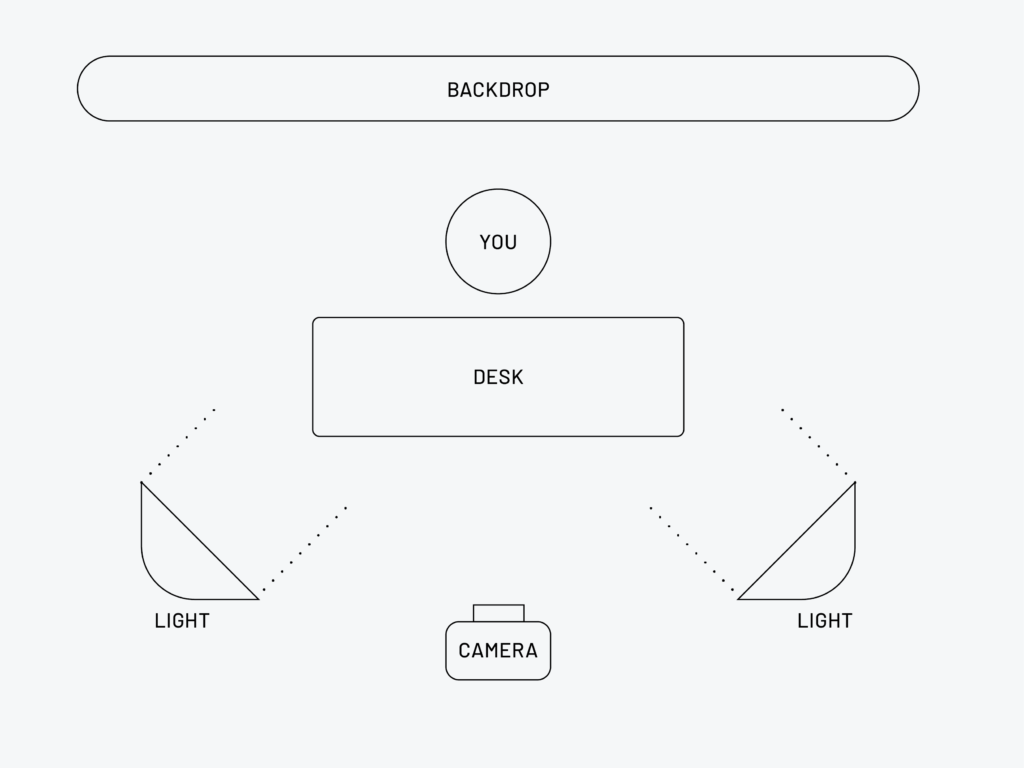
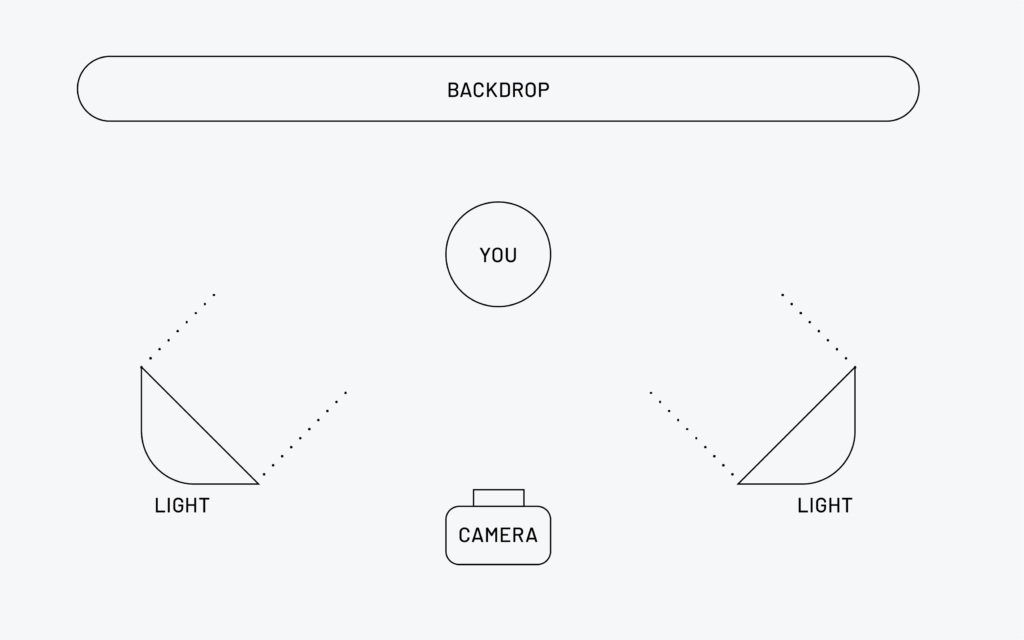
The talking head setup
Talking head videos are one of the most popular ways to record videos for videos where you don’t need to show your whole body.
In this type of video setup, you’re visible from only the waist up, usually behind a desk.
This is perfect for any instructor that doesn’t need to demonstrate any movements that would require your whole body to be visible in the frame.
Xayli Barclay recommends this kind of setup if you have a smaller space, like a small home office, because they don’t require a lot of space to film.
Here’s an overhead view of what a talking-head video recording setup looks, using a softbox light source:
The full-body setup
A full body video set-up is similar to a talking head video set up, except the camera is positioned further away so that your entire body is visible in the frame.
This kind of set-up is perfect for fitness instructors such as yoga or pilates teachers, who need their entire body to be visible.
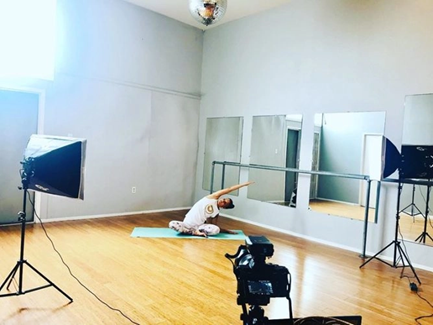
Cinderella DeGroot, a yoga teacher on Thinkific, needed a full-body setup to effectively demonstrate proper form. Her setup is simple: a tripod between two softboxes. Since the light from the window isn’t directly behind her, it adds a third light source from the side without making her a silhouette.
You’ll need a little bit more room for this kind of setup, because your camera needs to be positioned far away enough to fit your whole body in the frame.
Here’s how you’d set up your recording studio for a full body shot:
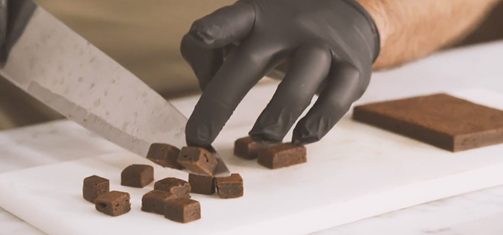
The top-down setup
If you need to record yourself doing something with your hands, like cooking or teaching people how to draw, the top-down setup is your best option.
The Chocolate Academy’s mouth-watering courses on chocolate dessert creation are a perfect example of the kind of content you can produce with this set-up.
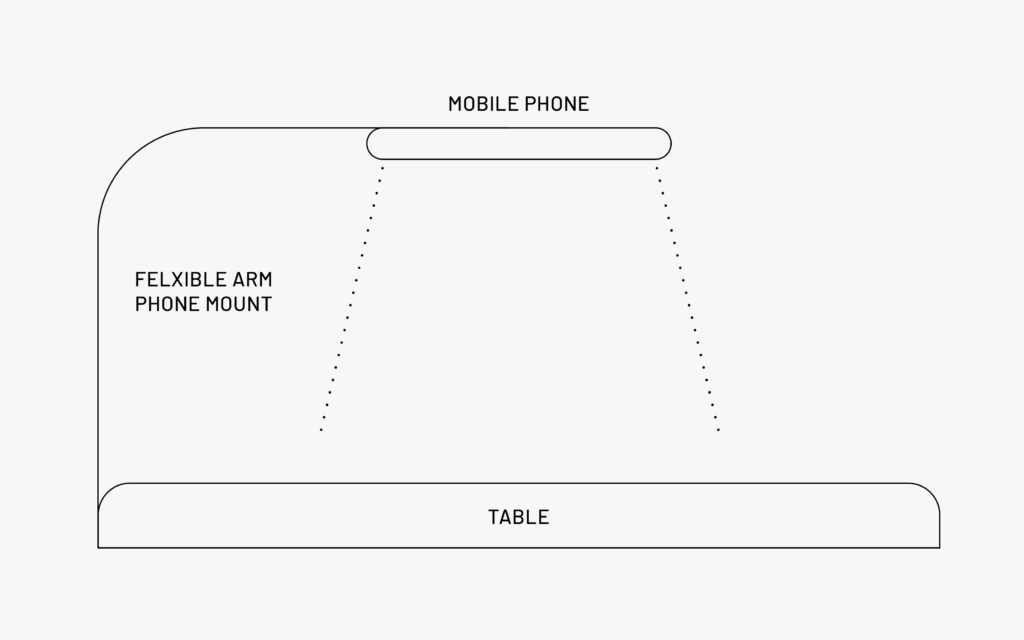
For a top-down set-up, you can use a desk-mounted adjustable arm to position your camera exactly where you want it:
2. Plan your recording equipment
In another guide, we covered the best equipment and software for recording an online course, but here we’ll pick out a few options with context for different creators.
Microphone
Even if you have great content, if your audio quality is poor, your students’ learning experience will suffer – so our advice is to use the best microphone you can afford.
Snowball mic ($49.95)

You can use a Snowball Microphone for a wider area of focus (like a room), or even multiple people speaking (like a podcast). The snowball is also a good mic if you plan on doing voiceover layered over your footage that you can record later. This type of microphone is for stationary, close-range use only.
Shotgun mic ($53.99)
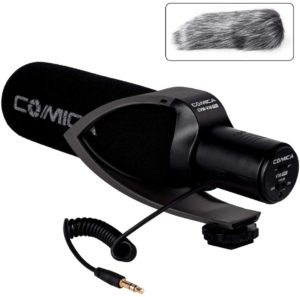
You can use a Shotgun mic for more direct recording, pointed at the source of the sound. This is great if you’re in one position and not moving around much, like with a talking head video, recording a voiceover and vlogging while walking.
Lighting
Proper lighting can really make a difference in the quality of training video you’re creating, so think about how you’re going to light yourself.
Softbox – $66
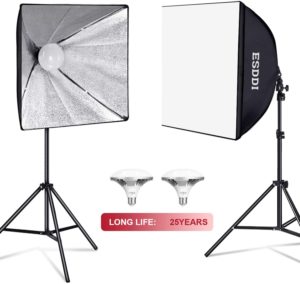
You can use a cheap softbox light that lights a large area with softer light. Make sure you position your lights far enough away to have the light fall softer and on a larger area. This method works if your space is big enough (in a smaller space this method can make everything look harsh and overexposed). If you can, make sure you buy LED bulbs for these softboxes, as LED lights do not heat up.
If you’re on a budget, here are a few lighting options to help you be seen without breaking the bank.
Natural lighting – $0
Instead of investing in a softbox lighting set-up, you can position yourself facing a window. The cheapest and easiest way to create a recording studio is to record using your laptop or phone using natural light from a window as a light source.
Natural lighting is very flattering and can drastically improve the quality of your video, but you’ll need to consider where the light is coming from to avoid exposure issues.
The best positioning for lighting from a window is beside or in front of you. Make sure there’s not too much light behind you (unless you’re going for the dark silhouette look). If you have no choice but to have the window behind you, a good tip is to drape the window source with an opaque white curtain to soften or diffuse the light coming in.
This kind of set-up can be done by positioning yourself facing or beside a light source, like XayLI Barclay has done in her home recording studio:
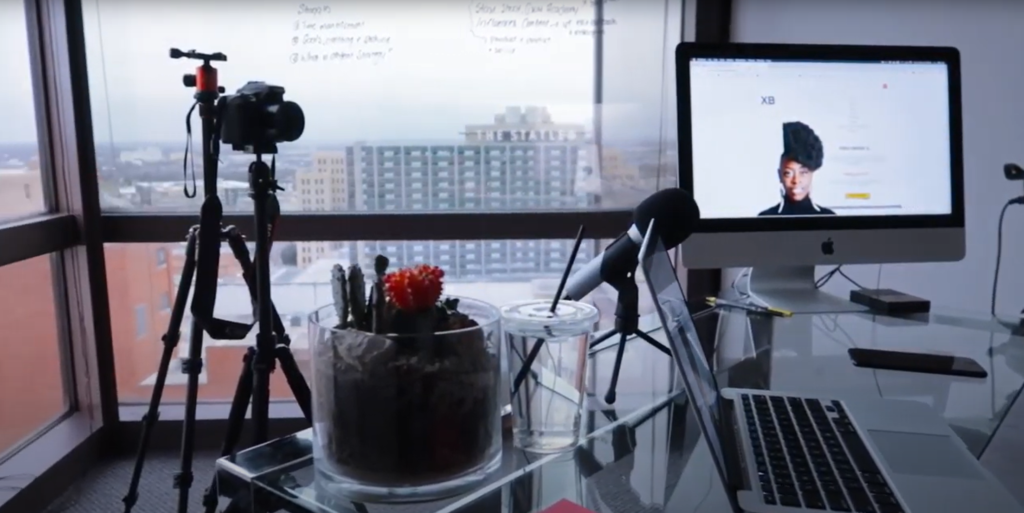
The tricky part about this setup is that the sun moves throughout the day, so if you’re recording for a long period of time, your lighting may be inconsistent as the sun makes its way across the sky.
DIY lighting softbox (wall/lamp) – $0
If your space is small you might not have the option to use a softbox. To get around this, you can point the light at a white wall (not at yourself) so the light can bounce back from the wall onto you, creating a softer, wider source of light.
Video recording
The good news is that most modern smartphones can record high-quality videos. If you choose this route, make sure your phone is able to capture at least 4K resolution (most cameras can).
Smartphone (Horizontal), mounted on a tripod – $25.99

Before you hit record, make sure you have enough memory storage on the phone and that your framing captures all of you.
If you’re unsure of the framing, another tip is to mount your smartphone and film from the front camera so you can look at yourself on the screen while you teach.
DSLR + Lens (wide lens of 24 mm or lower for wider angle) – $1400+
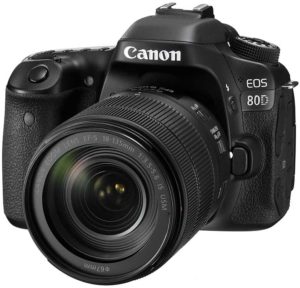
If you have the budget and want the highest quality, shoot with a DSLR, especially the ones where the screen can flip out, so you can view yourself as you record.
Camera mount
You need a way to position your camera at the perfect angle. Depending on your setup requirements, and the type of camera you choose, here are a few options to consider
Lightweight tripod – $26

While tripods can cost over $100, we found a cheaper option for a standard tripod lightweight tripod on Amazon
Gorillapod – $25
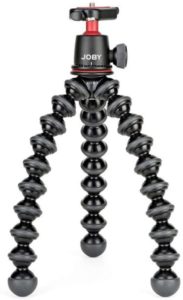
This mount has flexible legs that you can wrap around any surface to film, or it can stand on its legs. This is really helpful for positioning your camera at the perfect angle.
Desk mount with flexible gooseneck arms – $15
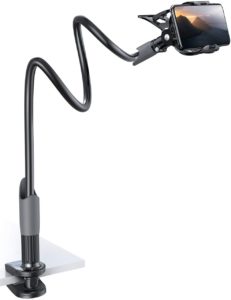
This phone mount is perfect for filming a top-down setup, because it’s mounted to the surface you’re working on, and you can adjust its flexible neck to set up your frame perfectly.
3. Design your backdrop
You don’t want to record a whole series of videos with an ugly backdrop, so you’ll want to plan what’s happening behind you.
Here’s XayLi Barclay showing off her backdrop in a video she with recording tips on our youtube channel: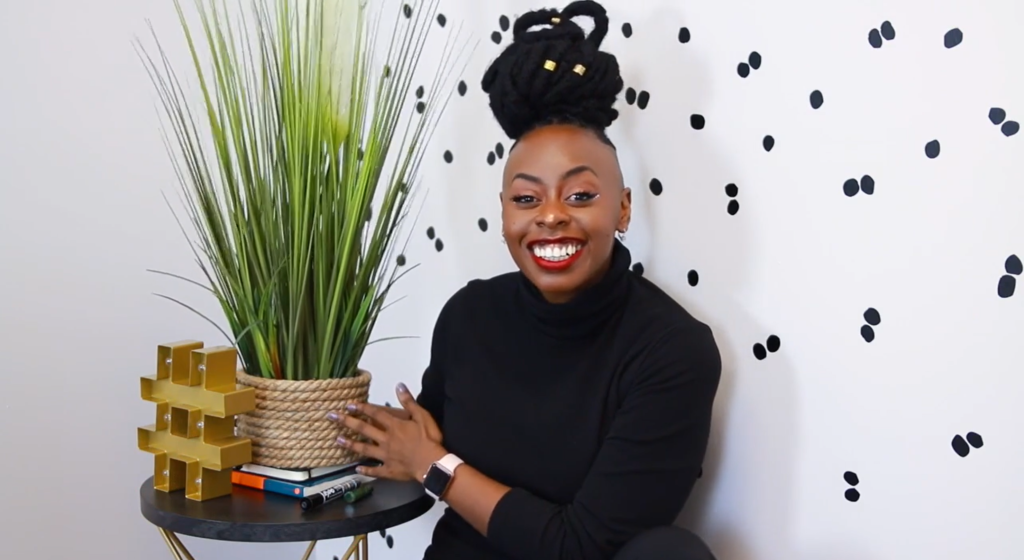
Little things like plants, and patterns on the wall can go a long way to improve the quality of your production.
4. Choose your video editing software
Next, you’ll need a way to edit your videos together. Here are the two most popular video editing tools that won’t break the bank. If you’d like to learn more, we’ve compared these two systems in our guide on how to record voiceovers.
| Screenflow | Price: Starting at $129 Operating System: Mac only |
| Camtasia | Price: Starting at $249 US Operating System: Windows and Mac |
And there you have it! These steps should give you a good head start on creating your home video recording studio.
Want to learn more about video production? Check out one of these related guides:
- How To Add Voice Over On PowerPoint and Google Slides
- How to Improve the Video Production Quality for Your Online Course
- Best Equipment & Software For Creating Online Courses
- 4 Elements of Effective Video Content for Online Courses
- How To Record Your Screen On Any Device
Updated December 12th 2020 to include a helpful video on the topic